As an Amazon Associate, we earn from qualifying purchases. Some links on this site are affiliate links at no extra cost to you. Our recommendations are based on thorough research and editorial judgment.
How To Install Ceiling Speakers?
To install ceiling speakers, we start by planning and placing them 18-24 inches from walls for ideal sound. We’ll guarantee the installation site is safe, using a stud finder and pilot holes to check for obstacles. We’ll cut ceiling openings using a template and run CL2 or CL3 rated wire, avoiding low-quality options. After connecting wires and securing speakers, we’ll finish by testing the setup. If you’re curious about the details of each step, there’s more to explore.
Key Takeaways
- Plan speaker placement 18–24 inches from walls and avoid positioning directly above seating areas for optimal sound dispersion.
- Use a stud finder to locate secure mounting supports and drill pilot holes to avoid hidden obstacles.
- Cut ceiling openings carefully using the manufacturer’s template and a drywall saw to ensure precise cuts.
- Run speaker wires following the shortest path and use CL2 or CL3 rated cable for safety and compliance.
- Connect wires to speakers with proper polarity, secure the unit in the ceiling, and avoid overtightening screws.
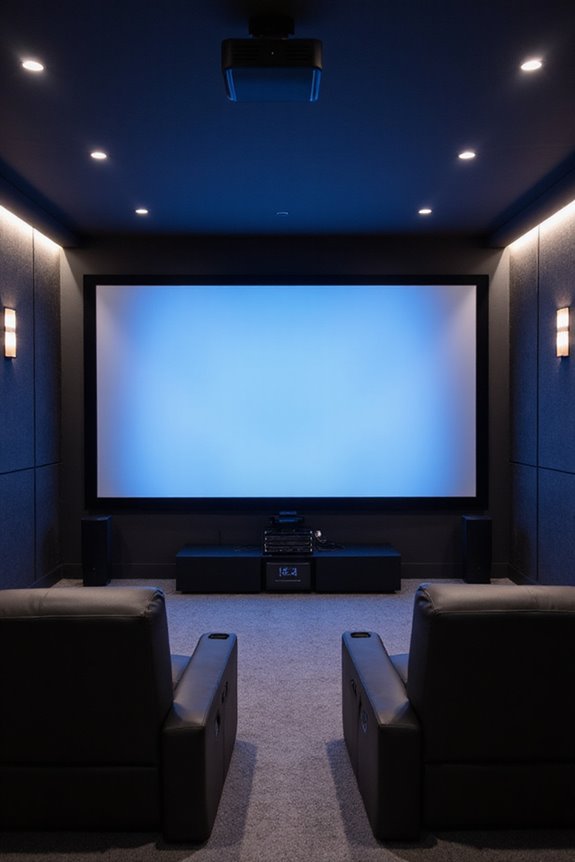
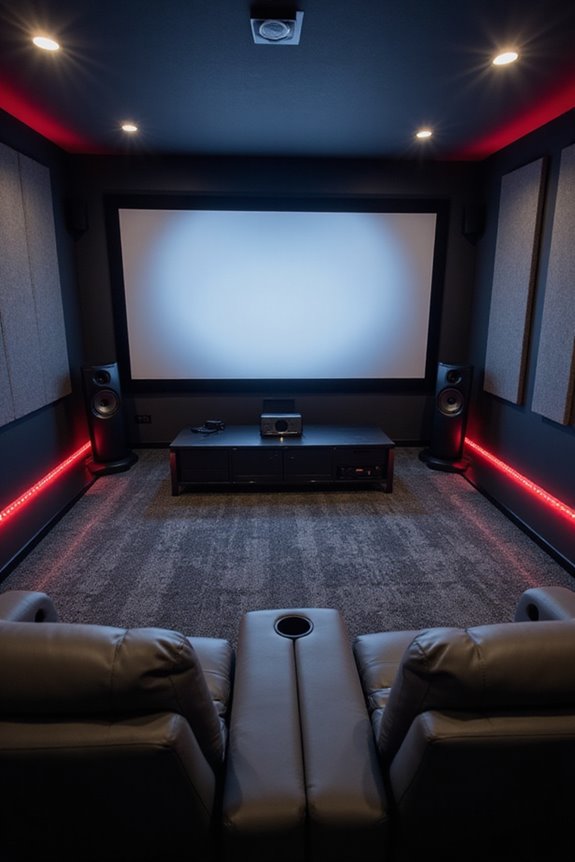
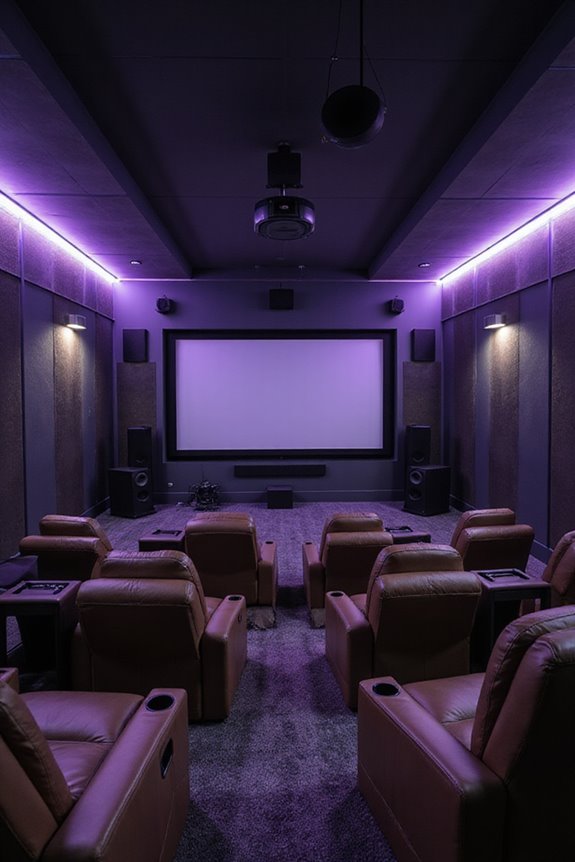
Planning and Placement
When planning the placement of ceiling speakers, there are several key principles to keep in mind to ascertain peak sound quality. First, we should maintain a distance of 18–24 inches from adjacent walls or ceiling edges. This helps optimize sound dispersion and reduce acoustic reflections. Next, let’s avoid placing speakers directly above seating areas to prevent overly directional sound and listener fatigue.
To achieve proper speaker alignment, we need to position in-wall speakers at ear level relative to typical seating positions. Finally, evenly distributing multiple speakers across the room ensures uniform sound coverage while enhancing the acoustic experience. By following these guidelines for speaker placement, we can create an inviting space that everyone will enjoy. Additionally, considering the frequency response range of the speakers will further enhance audio clarity and overall performance.
Preparing the Installation Site
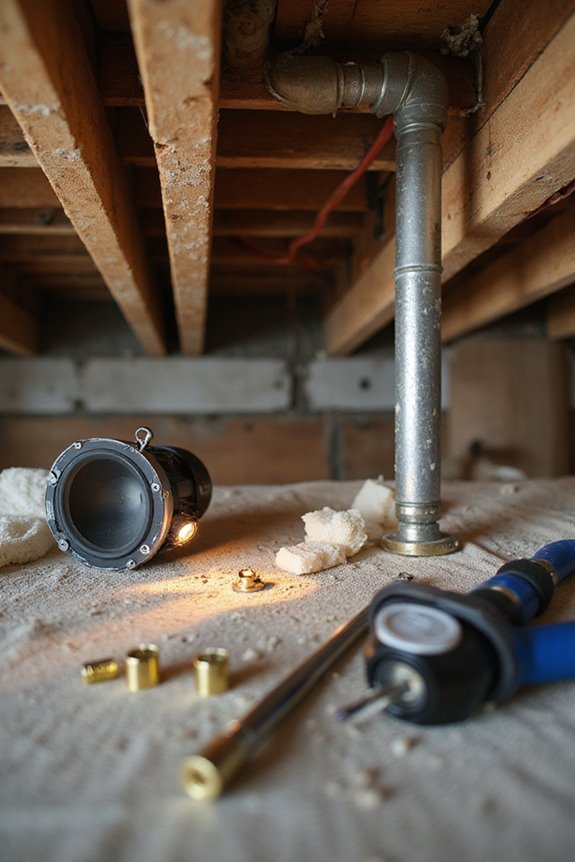
Before we get started with installing ceiling speakers, it’s critical to prepare the installation site properly. First, let’s guarantee safety precautions are in place. Turn off the electrical power to avoid any shocks. Next, we should drill a small pilot hole at the proposed location to identify any obstacles like wires or pipes. It’s also smart to use a stud finder to locate structural supports; this helps us mount the speakers securely.
Moreover, it’s essential to clean the ceiling surface and remove any debris to guarantee a smooth installation. Marking joist locations clearly will guide us during cutting. Finally, let’s inspect for any obstructions, guaranteeing a clean and efficient setup for our speakers. Additionally, ensure that the installation area has high-quality HDMI cables for optimal audio performance when connecting to powered systems.
Cutting Ceiling Openings
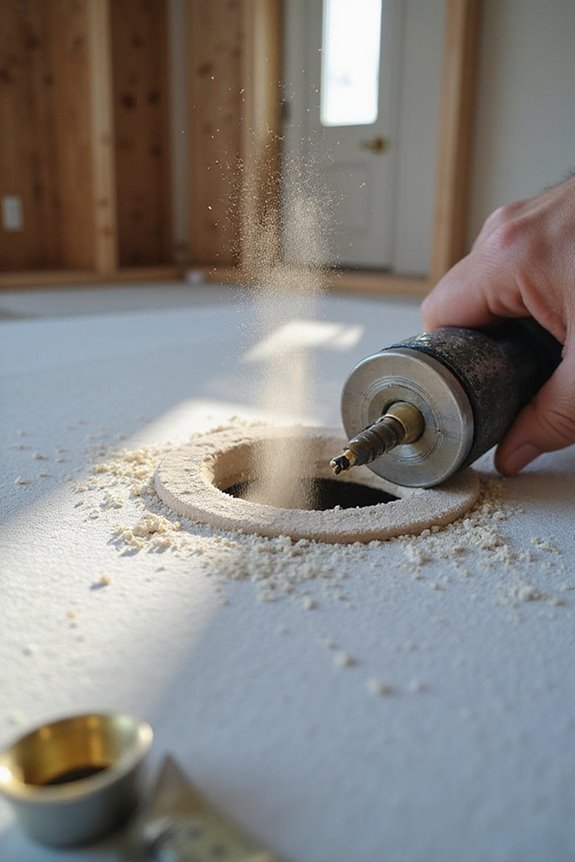
Cutting openings for ceiling speakers is a critical step in the installation process, as it lays the groundwork for a successful setup. We need to start by using the manufacturer-provided speaker template or create one from stiff cardboard that matches the dimensions of the speaker. Template alignment is essential; align the template at the marked ceiling location, trace the outline, and mark screw hole positions.
For cutting methods, a drywall saw is ideal for controlled cuts. If you’re dealing with circular openings, consider using a drill press with a hole saw bit. Remember to protect your floors and furniture, and wear safety goggles and a dust mask. Double-check for any hidden wires or pipes before making your cuts. Additionally, proper cutting techniques are crucial for ensuring a neat finish during the installation, especially if you plan to paint the speaker grilles.
Running Speaker Wires

Running speaker wires correctly is essential for a seamless audio installation. To achieve the best results, let’s follow some effective wiring techniques together. First, select the shortest path between your amplifier and speakers—this minimizes wire length and potential signal loss.
- Use a stud finder to navigate around existing structures.
- Aim to run wires parallel to floor joists or wall studs, which reduces drywall holes.
When picking your speaker wire, choose CL2 or CL3 rated cable for in-wall use, ensuring safety and compliance. Make sure the wire insulation is durable enough for installation. For most systems, 16- or 14-gauge wire works best. Always avoid low-quality cables to maintain audio integrity and safety. Additionally, consider the use of acoustic panels to enhance sound quality, as they can effectively reduce echo and background noise in your space.
Connecting and Securing Speakers

When you’re ready to connect and secure your ceiling speakers, it’s essential to guarantee a proper installation for peak sound performance. First, let’s prepare the speaker wire. Strip the ends carefully to expose just enough copper for terminal connection, ensuring you use wire types compatible with your chosen speaker types. Connect your wires to the appropriate terminals, keeping the positive and negative polarized correctly to avoid sound issues.
Next, align the speaker with the ceiling hole, using designated screws or clamps to secure it, but remember not to overtighten. If you’re using rough-in brackets, make sure they’re properly positioned between the joists. Once everything’s connected and secure, we’re one step closer to enjoying our new sound system! Additionally, consider the frequency response of your speakers to ensure they deliver the best sound quality possible.
Final Setup and Testing
With the speakers securely installed and connected, we can move on to the final setup and testing phase. First, let’s perform a quick inspection, ensuring all mounts are tight and grills are free from damage. Next, power on the amplifier, and test each speaker individually. Listen for balanced sound, free of distortion.
For sound calibration, use your receiver’s built-in tools, adjusting bass, treble, and volume levels to suit the room. If needed, tweak locations minimally to enhance coverage.
Finally, remember these maintenance tips: schedule periodic checks for tightness and clean the grills gently to keep dust at bay. Document further settings for future references, ensuring ideal performance down the line. Happy listening!
Frequently Asked Questions
What Tools Are Essential for Installing Ceiling Speakers?
We’re like artists preparing our canvas. For our ceiling speaker installation, we’ll need a stud finder, a drywall saw, and a level, while remembering tool maintenance guarantees our trusty companions stay in top shape.
Can I Install Speakers in a Finished Ceiling?
Yes, we can install speakers in a finished ceiling by using careful speaker mounting techniques. It’s crucial to plan the installation thoroughly to guarantee a clean finish and ideal sound quality that we’ll all enjoy.
How Do I Choose the Right Speaker Size?
To choose the right speaker size, let’s consider speaker impedance and sound quality together. We’ll guarantee our selections fit our space’s needs, balancing both performance and intimacy for an enjoyable audio experience that we all share.
Can Ceiling Speakers Be Used for Outdoor Settings?
Yes, ceiling speakers can be used outdoors, but we need to make certain they have good weather resistance for ideal outdoor acoustics. Choosing durable models protects our investment while enhancing our shared outdoor listening experiences.
Are There Wireless Options for Ceiling Speakers?
Absolutely, there’re wireless options for ceiling speakers! With wireless technology advancing, we can enjoy great audio quality without the hassle of wires. Let’s embrace the convenience and create soundscapes that truly bring us together!