As an Amazon Associate, we earn from qualifying purchases. Some links on this site are affiliate links at no extra cost to you. Our recommendations are based on thorough research and editorial judgment.
How To Paint A Screen Wall?
To paint a screen wall, we need to start with the right materials. Select a matte white or gray paint for ideal contrast and light reflection. Next, prepare your wall by cleaning and repairing any damage. Measure your screen area carefully for accuracy. Mix the paint thoroughly, then apply it using a roller for an even finish, allowing time for each coat to dry. If you want to enhance visual appeal, consider adding a border. You’ll find more helpful tips ahead.
Key Takeaways
- Select the right paint type, preferably water-based matte for even distribution and low-VOC formulations for indoor air quality.
- Prepare the wall by cleaning it, repairing damages, and ensuring it’s completely dry before painting.
- Measure and mark the wall accurately, determining the desired height and making clear boundary markings for the screen dimensions.
- Apply paint in light coats using a saturated roller, allowing each coat to dry fully before applying the next for even coverage.
- Clean tools immediately after use, and consider the wall’s aesthetics by selecting a complementary color or adding decorative elements.
Selecting the Right Paint for Your Screen Wall
When selecting the right paint for your screen wall, there are several factors to evaluate that can greatly impact your viewing experience. First, consider the projector types you’ll use. High-gain paints reflect more light for brighter images, while low-gain options enhance contrast in darker settings.
- Matte Finishes: These reduce glare, ensuring an even light distribution.
- Silver Metallic Base Paints: Great for color enhancement and sharpness.
- White and Grey Shades: Choose based on your room’s lighting and desired contrast.
Lastly, select reputable paint brands that offer specialized formulations, like water-based, low-VOC options. These factors together can optimize your screen wall, creating a more immersive experience for everyone involved. Additionally, consider the NRC ratings of the surrounding acoustic panels, as they can further enhance sound quality in your viewing environment.
Preparing the Wall Surface
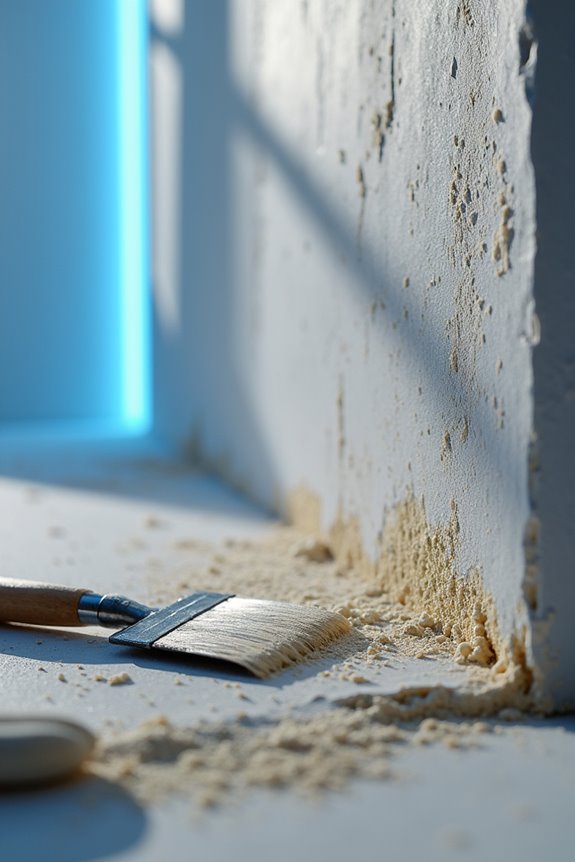
Preparing the wall surface is essential for achieving the best results when painting your screen wall. We need to assess the wall material and understand its textures—whether it’s smooth, semi-smooth, or rough—because these factors affect adhesion.
First, check for surface imperfections like cracks or peeling paint. Here’s how we can prepare:
- Clean the wall: Remove dust and debris with a dry cloth, then wash using a mild detergent.
- Remove loose materials: Scrape off flaking paint or loose plaster, ensuring a stable base.
- Repair damage: Fill in holes and cracks with appropriate compounds.
- Ensure dryness: Confirm the wall is completely dry before proceeding, as moisture issues can lead to peeling. Additionally, proper cable management can help maintain a neat appearance for your home theater setup.
With these steps, you’re setting the stage for a successful painting project!
Measuring and Marking the Screen Area
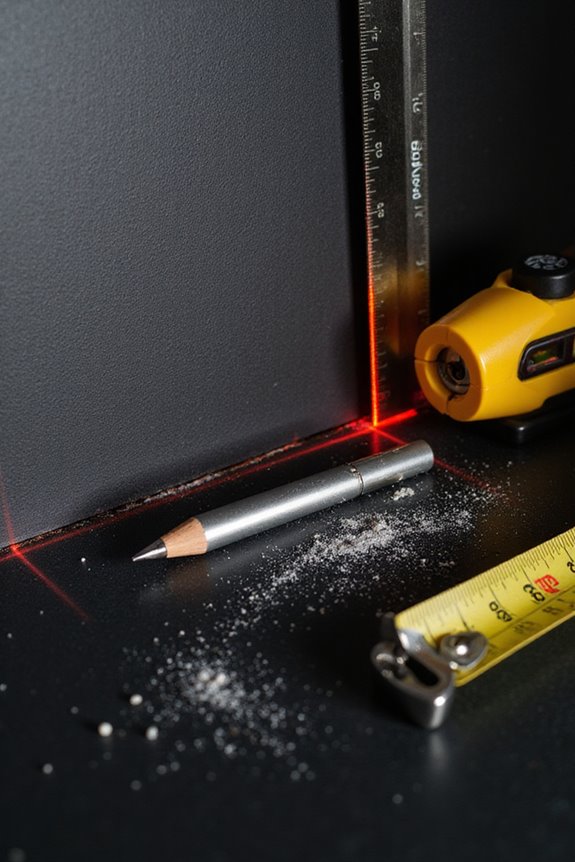
Measuring and marking the screen area properly guarantees that your screen is positioned correctly and looks professional. First, we’ll grab a metal or fiberglass tape measure to get accurate screen dimensions. It’s important to record measurements consistently, using either feet and inches or metric units.
Next, we’ll determine the screen’s midpoint for ideal height placement—aim for around 60 inches for a good viewing angle. Using a level, we’ll draw a horizontal centerline at that height.
For marking techniques, we’ll make certain vertical boundaries are equal from the centerline based on screen width. We can proof our marks with a level or plumb line. Finally, labeling all marks clearly will help keep everything organized and focused. Additionally, consider selecting a minimum recommended size of 100 inches for optimal viewing in medium rooms.
Mixing the Paint for Optimal Results

Achieving the perfect screen wall starts with the paint mixing process, which directly impacts the quality of your projection. First, we should select a water-based white paint as our base for improved adhesion and reflectivity. Using zero VOC options keeps our indoor air quality safe.
For ideal results, let’s use mixing techniques that include precise paint ratios. For instance, a formula might be ½ gallon of base paint, ¼ liter of black, and 8 oz of pewter. Adding paint additives like Floetrol can help slow drying time, resulting in a smoother finish. Remember to stir thoroughly without over-mixing to avoid air bubbles. Additionally, using high-quality materials will enhance the durability and reflectivity of your screen wall. With these steps, we’re on our way to creating a tailored projection experience!
Applying the First Coat

Now that we’ve got our paint mixed and ready, it’s time to apply the first coat on the screen wall. To achieve an even application, let’s focus on our roller technique. First, make sure your roller is fully saturated to avoid patches.
- Work in one direction, preferably top to bottom.
- Overlap your strokes by about 50% for consistent coverage.
- Keep a wet edge by applying new paint before the old coat dries, and never stop the roller on the surface.
This helps eliminate texture differences and blends each section seamlessly. Aim to apply the paint lightly, using smooth, continuous strokes. Remember, too much rolling can cause marks or patterns we want to avoid. Additionally, storage capacity is significant for accommodating electronic devices efficiently, so consider this if you’re painting in a media console area. Let’s create a beautiful finish together!
Ensuring Proper Drying Time
When painting a screen wall, ensuring proper drying time is essential for achieving a smooth and durable finish. Here’s what you need to remember:
- Drying Conditions: Different paints have varying drying times. Water-based paints dry to the touch in 1–2 hours, while oil-based can take 6–8 hours. Always follow the manufacturer’s guidelines.
- Humidity Matters: High humidity can slow down drying, while low humidity can speed it up. Good ventilation helps, too.
- Surface Preparation: Make sure your surfaces are clean and primed. This promotes proper adhesion and even drying.
- Curing Time: Remember, “dry to the touch” doesn’t mean fully cured. Water-based paints can take up to 30 days, and oil-based about 7 days.
Patience pays off for a lasting finish!
Applying Additional Coats
Applying additional coats to a screen wall is an essential step for achieving the perfect finish. It’s vital to apply multiple light coats, letting each one dry thoroughly between applications. Aim for a dry thickness of about 3 to 4 mils to guarantee that the paint adheres properly and maintains a smooth appearance.
- Use consistent application techniques, applying pressure evenly across the surface.
- After each coat, perform a visual inspection to detect any inconsistencies or areas needing more coverage.
- Verify each layer is barely visible; this keeps the finish clean without a wet look.
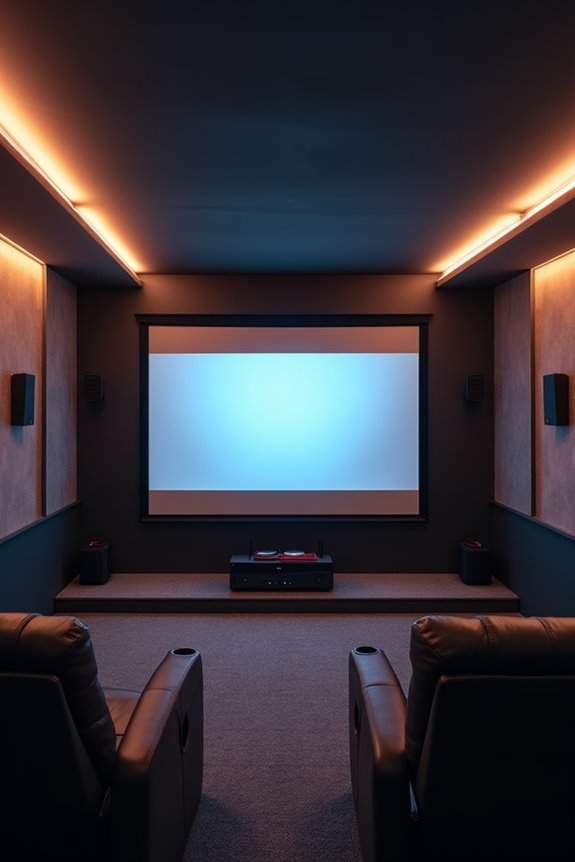
Adding a Border for Enhanced Contrast
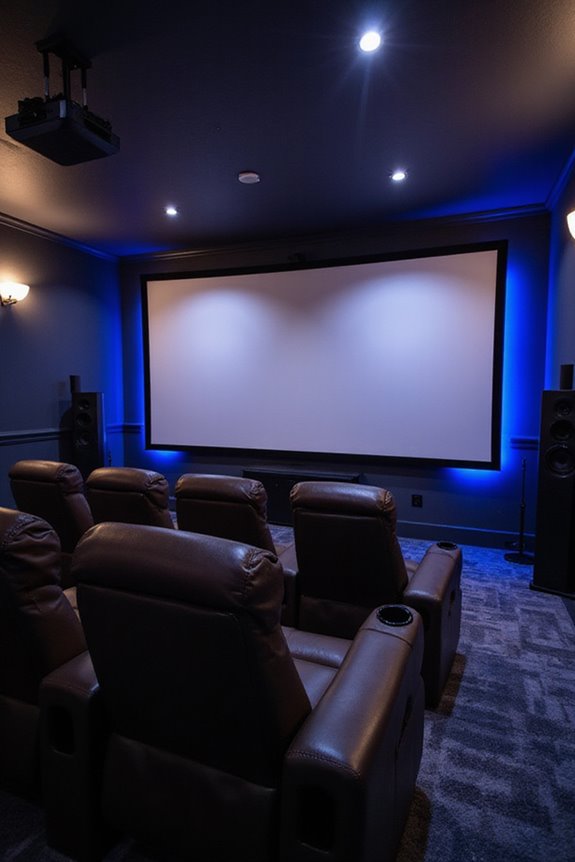
Adding a border to your screen wall can greatly enhance the overall viewing experience, especially in home theaters or presentation spaces. A well-defined border improves perceived contrast, helps frame the image, and reduces eye strain by providing a clear edge for focus.
Border Materials and Design
- Flat black paint absorbs stray light for deeper blacks.
- Felt tape offers a textured finish but may not hold up in bright lighting.
- Chalkboard paint provides a unique, dark matte look.
For an aesthetic touch, consider custom designs. Borders typically should be at least 2 inches wide for effective framing.
Remember to mark your lines carefully and use painter’s tape for clean edges. This added detail will elevate your screen wall while enhancing your viewing experience.
Environmental Considerations for the Best Outcome
Creating a stunning screen wall goes beyond aesthetics; it’s also about making environmentally conscious choices. When selecting paints, we should prioritize eco-friendly options. Here are a few considerations:
- Choose Low-VOC Paints: These reduce air pollution and minimize health risks, making your space healthier.
- Opt for Water-Based Products: Generally less harmful than solvent-based paints, they’re a better choice for the environment.
- Utilize Natural Pigments: Natural ingredients help reduce harmful chemical exposure.
We should also focus on proper waste management. Never dispose of leftover paint carelessly, as it can contaminate our soil and water. By making these choices together, we can contribute to a greener future while enhancing the beauty of our screen wall.
Tools Required and Cleanup Tips
When starting on a painting project for your screen wall, having the right tools is crucial for achieving a professional finish. We recommend using:
- Paint Rollers and Frames for smooth application.
- Trim Brushes for detailed edges where rollers can’t reach.
- Painters Tape to prevent paint bleed.
- Drop Cloths for protecting surfaces from splatter.
For cleanup efficiency, aim to clean your tools immediately after use. Use soap and water for water-based paints, while paint thinners work for oil-based products. Remember to dispose of paint waste responsibly, following local regulations. Don’t forget to wear gloves and masks for paint safety. After applying, remove painter’s tape before the paint fully dries for clean edges. With these tools and tips, we’ll guarantee a great finish!
Frequently Asked Questions
Can I Use Leftover Wall Paint for My Screen Wall?
We can use leftover wall paint for our screen wall, but color selection and paint durability may not meet our needs. If we’re willing to experiment, mixing could yield decent results for budget-conscious projects.
How Long Should I Wait Between Paint Coats?
“Good things come to those who wait.” We’re looking at about an hour for drying time between coats, but using proper techniques and observing environmental factors guarantees our paint job looks perfect together.
What Should I Do if I Get Paint on Surrounding Areas?
If we get paint stains on surrounding areas, let’s act fast with cleaning tips. Blot gently with a damp cloth, and use proper removers to keep our surfaces looking great and free from accidental messes.
Is It Necessary to Use a Primer Before Painting?
Yes, it’s essential to use a primer before painting. Different primer types guarantee proper surface preparation, enhancing paint adhesion and durability. Together, we can create a smooth, professional finish that lasts longer and looks great!
How Do I Fix Paint Runs or Drips After Drying?
To fix paint runs, we’ll let those drips dry completely first. Once dry, we can sand gently, then touch up with careful paint application for a smooth and cohesive finish together. Patience is key!