As an Amazon Associate, we earn from qualifying purchases. Some links on this site are affiliate links at no extra cost to you. Our recommendations are based on thorough research and editorial judgment.
How To Run In Wall Speaker Wire?
To run in-wall speaker wire, we should prioritize careful planning and safety. First, locate studs with a stud finder and determine the best wire routes. Use in-wall rated speaker wire, ideally 14-16 AWG, to guarantee performance. Cut precise openings for speakers, and secure wires properly using clamps and ties. Remember to connect positive and negative leads accurately. Once set up, test the system for sound quality. There’s more to explore for a superior installation.
Key Takeaways
- Use a stud finder to locate studs and obstacles, ensuring safe pathways for your speaker wire.
- Choose in-wall rated speaker wire (CL2/CL3) and appropriate gauge (14-16 AWG) for optimal performance.
- Plan and mark the shortest routes for cables, avoiding interference from electrical lines and other obstacles.
- Secure wires neatly using cable clips, ties, and adhesive pads to maintain organization along the walls.
- Label each wire to simplify identification and ensure proper connections during installation.
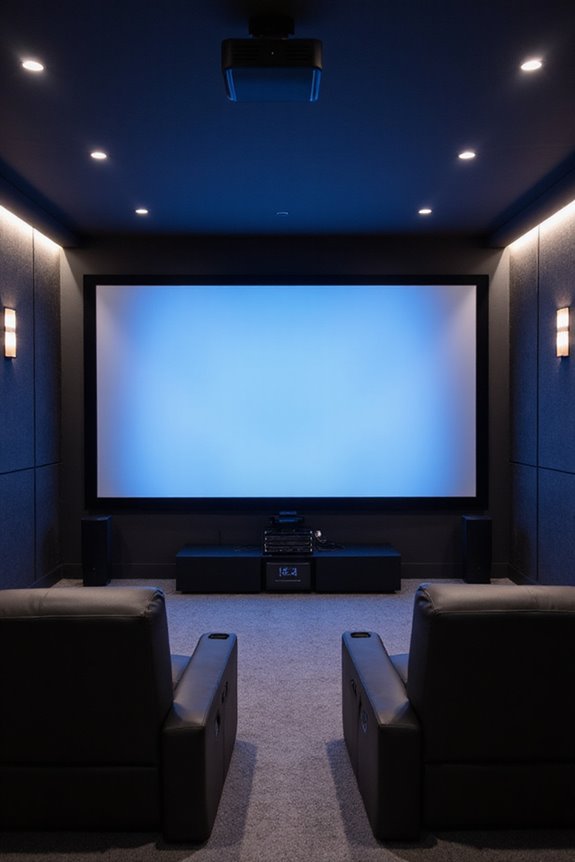
Planning and Preparation for Speaker Installation
When you’re ready to plunge into in-wall speaker installation, planning and preparation are key to a successful setup. First, determine your speaker placement. Use a stud finder to locate obstacles like studs or wires, ensuring safe wire pathways. Mark these entry and exit points clearly.
Next, choose the most efficient routes for your wire. Run wires parallel to wall studs and floor joists, minimizing drywall penetrations. Add extra cable length for in-ceiling speaker hookups.
Be sure to gather your essential tools: in-wall rated speaker wire, fish tape, and cable clips. Finally, prepare to secure your wires properly as you install—every detail contributes to your audio experience, and we want you to enjoy every beat. Additionally, consider using an automatic keystone correction feature in your audio setup to optimize sound quality and placement accuracy.
Cutting Wall Openings for Speaker Placement

Cutting wall openings for speaker placement is a critical step that demands careful execution. First, we’ll locate the studs using a stud finder to avoid cutting into them. Next, choose a wall cavity that’s symmetrical to maximize sound quality. Using a template, we can mark the outline with a pencil.
Key cutting techniques include drilling a pilot hole for better control, then employing a drywall saw to cut along the marked line. It’s vital to stay inside the outline to protect surrounding walls. Remember to cover the floor with tarps for wall protection against dust, and wear goggles and a dust mask while cutting. Additionally, ensure that the chosen location allows for optimal speaker type selection based on room size before proceeding. Finally, inspect the opening to verify the speaker fits snugly before proceeding.
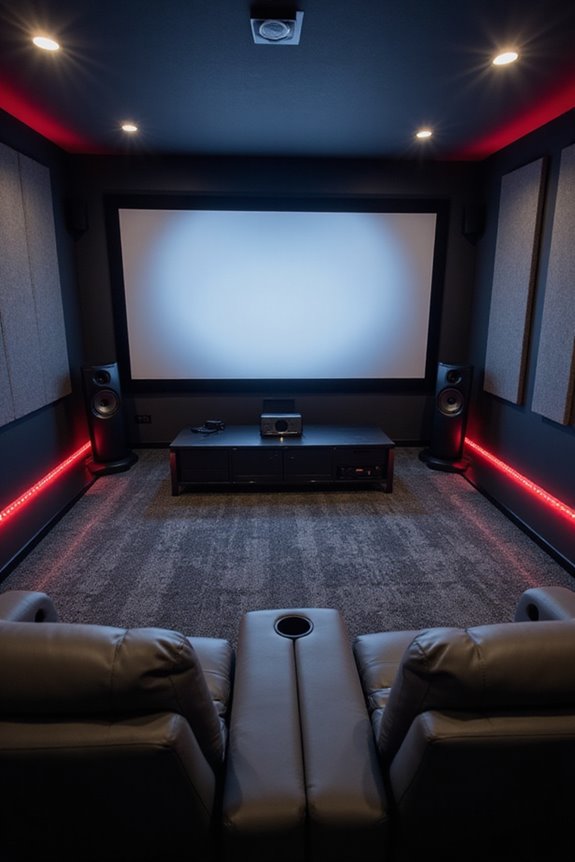
Running Speaker Wire Inside Walls
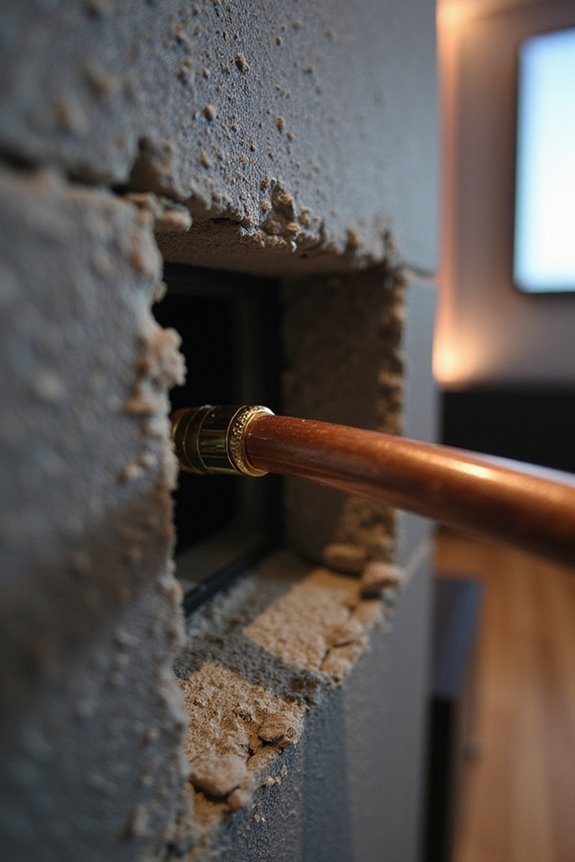
Now that you’ve established the appropriate wall openings for your speakers, it’s time to focus on running speaker wire inside those walls. To guarantee fire safety, use in-wall rated speaker wire, specifically CL2 or CL3 rated. For peak performance, choose a wire gauge between 14 and 16 AWG; this provides a balance between signal quality and flexibility. Plan the shortest routes for your cables, avoiding obstacles like studs and pipes. It’s wise to label each wire before pulling it through for easier identification later. As we navigate through these walls, remember to maintain a safe distance from electrical lines to avoid interference. Additionally, ensure the wires used are compatible with your existing systems to prevent any connectivity issues. Let’s get those wires run smoothly for a high-quality audio experience!
Securing and Managing Speaker Wire

To guarantee your speaker wires stay organized and secure, we’ll need to take into account several effective methods. First, consider using adhesive pads to keep wire bundles flat against the wall. This leads to better cable organization. Next, wire labeling helps you and others easily identify different connections.
Cable clamps and wire ties further enhance organization, keeping everything tidy. For added sophistication, surface raceways conceal wires elegantly along walls. Don’t forget about cable lifters to keep wires off the floor, reducing dust interference. Ultimately, investing in integrated racks tailored for your gear provides a clean look and accessibility. By implementing these strategies, you’ll ensure your setup is both efficient and visually appealing, while also considering the power handling capacities of your ceiling speakers to avoid overloading your system.
Making Electrical Connections
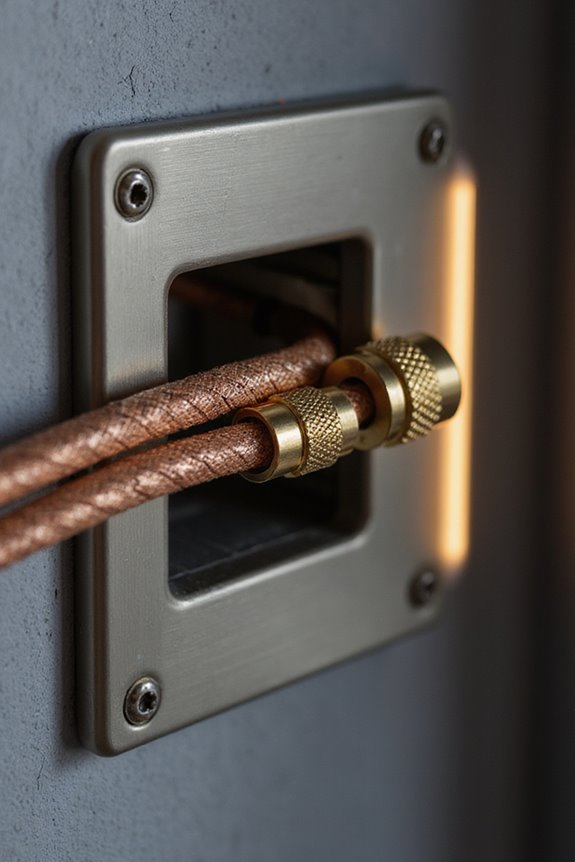
Making electrical connections is a key step in ensuring your in-wall speaker system functions properly. Let’s focus on wire types and connection methods. Start by identifying positive and negative leads on your speaker wire; red typically means positive, while black means negative. If there’s no color-coding, look for ridges or text.
Next, strip about 3/8-inch of insulation from both wires, twist the exposed strands tightly to prevent stray bits that could cause shorts. For connections, use appropriate wire connectors like banana plugs for binding posts, or simply twist the bare wire if using spring clips.
Always double-check polarity, ensuring the positive wire connects to the positive terminal for clear sound quality. Additionally, using high sensitivity ratings can improve efficiency and ensure higher audio immersion in your setup. Finally, test your setup to confirm everything’s working correctly.
Installing Speakers Into Walls
Installing in-wall speakers requires careful planning to guarantee ideal audio performance and a clean aesthetic. First, you’ll want to identify the best locations for each speaker type, ensuring sound distribution suits your space. Using templates, mark the positions for your speakers accurately. Remember to check for any obstacles like pipes or wires behind the walls.
When you’re ready, cut the openings carefully with a drywall saw or rotary tool. Use mounting clamps to secure the speakers in place, and tighten screws gently to avoid damaging the drywall or the speakers. Finally, level the speakers and install grills for that finished look. Your hard work will pay off when you enjoy an immersive sound experience in your home.
Frequently Asked Questions
What Type of Speaker Wire Is Best for In-Wall Installation?
For in-wall installation, we recommend using 14 or 12-gauge copper wire with flame-retardant insulation. This combination guarantees durability, enhances sound quality, and meets safety codes, making our setup both efficient and reliable for everyone.
How Do I Check if My Walls Are Suitable for In-Wall Speakers?
To check if our walls are suitable for in-wall speakers, let’s locate wall studs and verify there’s enough space without obstructions. A well-set-up wall enhances sound quality, allowing us to enjoy an immersive audio experience together.
Can I Run Speaker Wire in the Same Conduit as Electrical Wiring?
We can’t run speaker wire in the same conduit as electrical wiring due to safety concerns. Instead, let’s focus on installation tips to avoid interference and guarantee our sound systems perform beautifully together.
Is It Necessary to Use In-Wall Rated Speaker Wire?
Yes, using in-wall rated speaker wire is crucial for compliance with safety standards. It protects us from fire hazards and guarantees our installations are both safe and reliable, giving us peace of mind in our homes.
What Tools Do I Need for Installing In-Wall Speakers?
Before beginning our wall speaker adventure, we’ll need tools like a stud finder, drywall saw, and drill. With these installation tips, we can nail the perfect speaker positioning and create a great sound experience together!