As an Amazon Associate, we earn from qualifying purchases. Some links on this site are affiliate links at no extra cost to you. Our recommendations are based on thorough research and editorial judgment.

How To Crimp RJ45 Cable?
To crimp an RJ45 cable, we’ll gather our tools: a crimping tool, cable cutter, wire stripper, and connectors. Start by stripping about 1.5 inches of the outer jacket. Next, arrange the wires according to the T568B standard: White-orange, Orange, White-green, Blue, White-blue, Green, White-brown, Brown. Insert the wires into the RJ45 connector with the clip facing down, then crimp securely. Finally, test for continuity to verify a solid connection. There’s more essential info for your project ahead.
Key Takeaways
- Gather necessary tools: RJ45 crimping tool, cable cutter, wire stripper, connectors, and an Ethernet cable tester for successful crimping.
- Strip about 1.5 inches of the outer jacket off the cable, taking care not to damage the inner conductors.
- Arrange the conductors according to the T568B wiring standard, maintaining the correct color order for signal quality.
- Insert conductors into the RJ45 connector, ensuring they reach the pins and that the outer jacket extends into the connector for strain relief.
- Crimp the connector firmly using the crimping tool, then test the cable with an Ethernet tester to confirm continuity.
Preparation of Tools and Materials
To crimp an RJ45 cable effectively, we need to gather a few essential tools and materials. First, let’s focus on tool selection. A quality RJ45 crimping tool is crucial; it should include cutting, stripping, and crimping functions. Look for tools compatible with multiple connector types, such as RJ45, RJ11, and RJ12.
Next, we should guarantee material compatibility. Our toolkit should include:
- A cable cutter for clean cuts.
- A wire stripper to remove insulation.
- RJ45 strain relief boots to protect connectors.
- An Ethernet cable tester for verifying connections. Additionally, ensuring authenticity is key in any collectible items you may handle will enhance their overall value.
Cable Stripping and Exposure
Once we’ve gathered our tools, the next step involves properly stripping the cable and exposing the inner conductors. We’ll use jacket removal techniques designed for Ethernet cables, ensuring we avoid damaging the inner wires. Begin by using a wire stripper to score the outer jacket lightly, stripping about 1.5 inches. Bend the scored section to pop the jacket off cleanly.
Next, peel back the shielding completely and remove any spline present, paying attention to conductor damage prevention. Handle the delicate wires carefully. Inspect the conductors for any damage, ensuring they’re straight and untangled. This preparation is essential for maintaining signal integrity, allowing for a successful crimping process. Additionally, ensure that you familiarize yourself with the setup methods for various devices, as this knowledge can enhance your overall cable management and functionality. Let’s get those conductors ready for insertion!
Wire Arrangement and Ordering
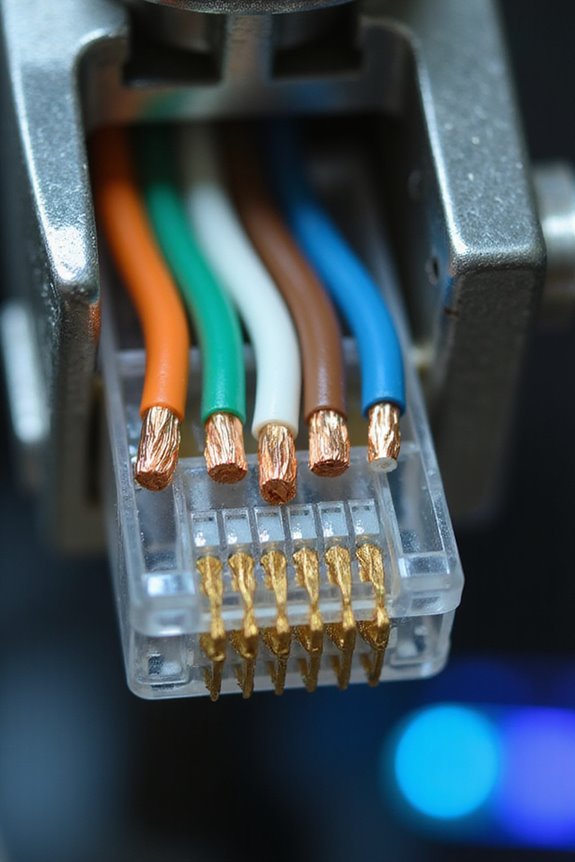
Getting the wiring order right is essential for successful cable crimping. We’ll often choose between two wiring standards: T568A and T568B, with T568B being the most commonly used. Let’s remember that the key difference between these is the swapping of green and orange wire pairs.
For effective wire arrangement, we should use the following common T568B sequence:
- White-orange
- Orange
- White-green
- Blue
- White-blue
- Green
- White-brown
- Brown
Additionally, ensuring the use of high-quality connectors can significantly affect the signal quality and reliability of the network connection.
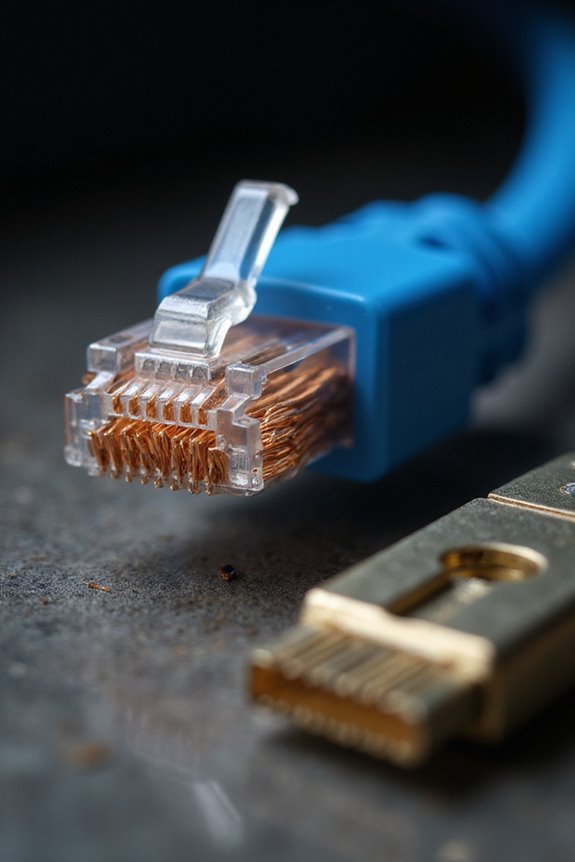
Insertion Into the RJ45 Connector

As you prepare to insert the wires into the RJ45 connector, ensuring that everything is aligned correctly is essential for successful crimping. Start by holding the connector with the contact pins facing away and the clip downward. Trim the wires evenly and keep them straight for the best wire alignment.
- Feed the wires into each slot, ensuring they touch the metal pins.
- Don’t force them; gentle pressure helps prevent misalignment.
- Double-check the order; all wires should follow the color code.
Make sure the outer cable jacket extends slightly into the connector for strain relief. This step is critical for a secure fit, ensuring reliable signal transmission once we move on to crimping! Additionally, ensuring a good connection can enhance signal-to-noise ratio, which is vital for clear audio performance.
Crimping Process and Final Steps
With the wires properly inserted into the RJ45 connector, we can now focus on the crimping process, which is integral for a reliable connection. First, we’ll place the connector in the crimp tool’s 8P8C slot, ensuring it fits snugly.
Next, we’ll use firm pressure to activate our crimping techniques, pushing the metal pins down onto each wire for electrical contact. After the first press, we’ll apply a second compression to secure the cable jacket via the strain relief tab.
Once crimped, we should gently tug the connector to check its grip and visually inspect the pins for even placement. Finally, let’s use a network cable tester to verify continuity across all conductors before deployment. Ensuring a high-quality connection is crucial for optimal network performance.
Frequently Asked Questions
Can I Use Other Cable Types Instead of Cat5e or Cat6?
We can’t recommend using other cable types instead of Cat5e or Cat6 due to potential compatibility issues. While cable alternatives exist, they may compromise performance and reliability, making them unsuitable for our modern networks.
What Is the Difference Between T568A and T568B Wiring Standards?
The T568A advantages lie in backward compatibility, especially for legacy systems, while T568B applications are favored in commercial setups. We should choose one standard for our network to guarantee seamless connectivity and functionality.
How Do I Know if My Cable Tester Is Working Properly?
To know if our cable tester’s working properly, we should verify its functionality through thorough testing procedures, ensuring it shows accurate readings. Remember, about 30% of reported cable issues stem from faulty testing devices.
How Long Should an Ethernet Cable Be for Optimal Performance?
For ideal performance, we should keep our Ethernet cable length under 100 meters. Exceeding this can noticeably impact performance, leading to signal degradation and slower speeds. Let’s prioritize quality for the best results.
What Tools Can I Use if I Don’T Have a Crimping Tool?
Sure, we can be resourceful! With a small screwdriver, utility knife, or even needle-nose pliers, we can explore alternative methods using improvised tools. Just remember, it might feel like crafting magic with less reliability!