As an Amazon Associate, we earn from qualifying purchases. Some links on this site are affiliate links at no extra cost to you. Our recommendations are based on thorough research and editorial judgment.

How To Install Seat Shakers?
To install seat shakers, we’ll need to start by gathering essential tools like a drill, screwdrivers, and speaker wire. Next, choose a solid mounting surface near your seat and prepare it by cleaning and sanding if necessary. Follow these steps: secure the shakers using all four screw holes, connect the wiring with 12-16 AWG wire while ensuring polarity is correct, and then power up your system for testing. If you have questions, there’s more to explore!
Key Takeaways
- Gather all essential tools such as drills, screwdrivers, and measuring tapes, along with audio components like speaker wire and connectors.
- Choose firm, clean surfaces for shaker mounting, ideally beneath the seat, ensuring they transmit vibrations effectively.
- Follow proper installation steps: power off the amplifier, securely attach shakers, and ensure all connections are correctly configured.
- Test the setup with various audio tracks, adjust settings based on feedback, and monitor for any potential issues during real-time use.
- Integrate with gaming software like SimHub for enhanced haptic feedback and ensure all components are compatible with your system.
Preparation and Tools Required
When preparing to install seat shakers, it’s essential to gather all necessary tools and materials to guarantee a smooth process. Let’s start with our tool selection. We’ll need a cordless or corded drill, screwdrivers, measuring tape, and possibly a saw if we’re cutting mounting boards. Don’t forget wrenches for tightening bolts and nuts.
Next, refer to our installation checklist to verify we have electrical components like speaker wire, RCA cables, and crimp connectors. We should also gather bolts, rubber washers, and any protective materials such as safety goggles. Additionally, ensure that you have a reliable audio quality assessment method to test the seat shakers after installation. Making a detailed list helps us stay organized and guarantees we don’t overlook anything critical during our project. With everything prepared, we’re ready to plunge into the installation process!
Mounting Location and Surface Preparation
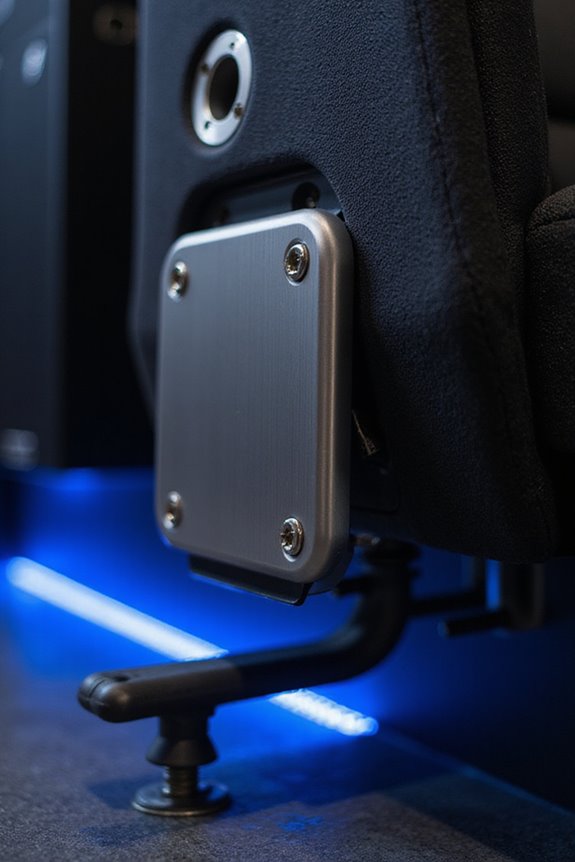
To achieve ideal performance from your seat shakers, selecting the right mounting location and preparing the surface are vital steps. We should aim to mount the shakers close to your buttocks or bare back to maximize tactile feedback. Common mounting techniques include positioning under the seat rails or on the lower cushion and sides of the frame.
When it comes to surface materials, use firm, solid surfaces like wood or metal to efficiently transmit vibrations. Remember to make sure surfaces are flat or slightly concave and thoroughly cleaned. For added stability, consider light sanding or roughening areas before installation. This preparation enhances the mount’s integrity, guaranteeing you receive optimal vibration from your seat shakers for an immersive experience. Additionally, ensuring that the speakers are set up for optimal sound experience can further enhance the overall effect of the seat shakers during use.
Shaker Installation Procedure
Installing your seat shakers correctly is crucial for achieving the best performance from your audio system. First, verify the amplifier is off and volume low, then conduct a preliminary test by placing the shaker on insulation and powering it through the amplifier. Gradually increase volume, focusing on bass-heavy segments to verify the shaker’s functionality.
When mounting, use all four screw holes for a secure attachment. Position the shaker with the bottom side facing upward and confirm it’s on a sturdy frame—avoid thin plywood. Use rubber washers to minimize noise and guarantee shock bushings reduce unwanted vibration transfer. These steps enhance shaker benefits, enhancing the vibration feedback you’ll experience, ensuring immersive audio enjoyment. Additionally, consider the room size to optimize speaker placement and performance, which can further improve the overall experience.
Wiring and Electrical Connections
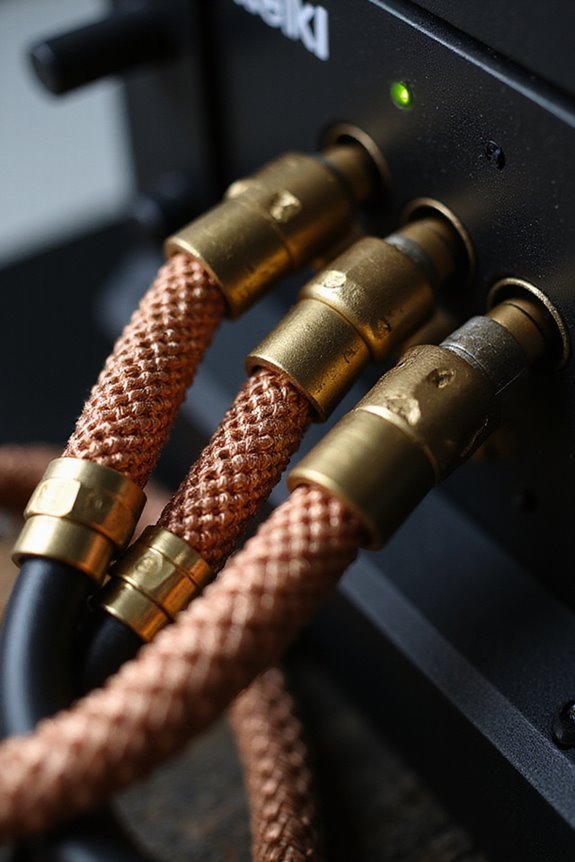
Wiring and electrical connections form the backbone of your seat shaker installation, ensuring that everything functions smoothly together. We need to pay attention to wiring configurations and impedance matching. For single shakers, connect positive to positive and negative to negative. If you’re using multiple shakers, consider series connections to achieve the right impedance.
Use 12-16 AWG stranded wire for flexibility, avoiding thin gauges that might damage your system. Always double-check that everything’s securely connected, and power sources are off before we start working.
Here are a few best practices:
- Strip wire cleanly, minimizing exposed wire.
- Use quality connectors for reliability.
- Secure wires away from moving parts to maintain performance and safety. Additionally, ensuring high-quality sound clarity enhances your overall installation experience.
Testing and Tuning
While our seat shaker installation may be complete, testing and tuning are essential to fully realize its potential. First, let’s focus on the various testing methods. We’ll iterate through adjustments, scrutinizing strength, frequency, and duration to find the ideal settings for a realistic driving experience.
- Strength Adjustments: Customize power for each effect, ensuring optimal feedback.
- Effect Customization: Tailor engine vibrations or road impacts to enhance immersion.
To create a solid feedback loop, you’ll want to solicit input from fellow users. Real-time testing on tracks helps fine-tune our setups. With these adjustments, we can simulate scenarios like traction loss and gear shifts. Embrace this process, and you’ll achieve an exhilarating ride! Additionally, consider incorporating customization options for an even more personalized experience.
Maintenance and Safety Considerations
Maintaining your seat shakers is essential for both performance and safety, guaranteeing they function as intended over time. We should conduct regular inspections to keep everything running smoothly. This includes checking wiring and connectors for signs of wear or corrosion.
Proper cleaning is equally important. Use a damp cloth and mild soap to wipe down surfaces, avoiding abrasive cleaners that might harm components.
Here are a few quick tips:
- Always disconnect power before any maintenance.
- Tighten all mounting bolts to prevent rattling.
- Keep the area around motors free from dust for ideal airflow.
Following these maintenance protocols helps guarantee our seat shakers deliver the immersive experience we love, while keeping us safe during use.
Selecting the Right Shaker for Your Setup
Choosing the right seat shaker can markedly enhance your audio experience, and it starts with understanding your specific setup requirements. Here’s what to examine:
- Shaker Types: Higher wattage shakers like the Dayton Audio BST-300EX offer strong vibrations for larger setups, while midrange options such as the BST-1 balance power, size, and cost. For compact spaces, lightweight options like the BST-2 and TT25 Mini can still provide a satisfying tactile experience.
- Performance Factors: Look for shakers that handle low frequencies under 100 Hz for realistic vibrations. Assess physical size and mounting compatibility to verify a secure fit without losing vibration intensity.
With these guidelines, you’ll find a shaker that perfectly aligns with your needs, enhancing your audio journey.
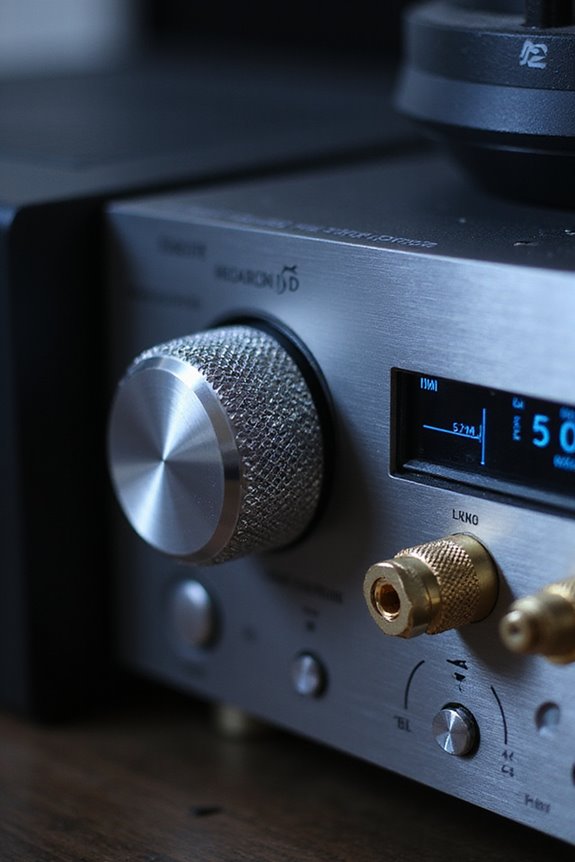
Understanding Amplifier Compatibility
When it comes to enjoying the full benefits of seat shakers, understanding amplifier compatibility is essential. You need to verify your amplifier’s power output matches your shakers’ specifications for peak performance. Here are some key points:
- Amplifier Power: Look for amplifiers that provide adequate RMS power, like 110 watts at 2 ohms for individual shakers or higher outputs for multiple shakers when bridged.
- Impedance Matching: Confirm your shakers, typically rated at 50 watts RMS at 4 ohms, are compatible with your amplifier’s load specifications.
- Connection Types: Most amplifiers require a low-frequency output from your receiver, using RCA or 3.5mm cables for signal transmission.
Acoustic Treatment for Enhanced Performance
To maximize the performance of your seat shakers, integrating acoustic treatment into your setup can greatly enhance your experience. By using acoustic panels, we can absorb sound waves, minimizing echoes and reverberations. This clarity helps us distinguish dialogue, music, and sound effects, resulting in a balanced frequency response.
Here are some key benefits to evaluate:
- Enhanced Tactile Immersion: Improved bass shaker vibrations become more perceptible, allowing us to feel every low note.
- Sound Localization: A clearer soundstage creates a more realistic environment, enabling us to pinpoint directional audio.
- Reduced Distortion: Proper treatment reduces unwanted noise, making our experience not only immersive but enjoyable.
Incorporating these elements leads to a richer, more satisfying use of your seat shakers.
Troubleshooting Common Installation Issues
Troubleshooting common installation issues is essential for confirming your seat shakers deliver peak performance. We often encounter problems related to mounting stability or signal interference. Here are some key points to keep in mind:
- Check Connections: Verify all cables are securely connected from the amplifier to shakers, avoiding any interruptions.
- Verify Mounting: Use a solid board attached to the seat frame, as directly mounting to springs may lack stability.
- Amplifier Compatibility: Ensure your amplifier matches the shaker’s power needs; underpowered options lead to weak performance.
- Adjust Settings: Fine-tune amplifier gain and volume levels to achieve the right shaker response, avoiding distortion.
Optimizing Shaker Placement for Best Results
Optimizing the placement of your seat shakers is crucial for achieving the most effective vibration response. To enhance user comfort, verify shakers sit directly beneath the seat plate, centered in the sit bone area. This positioning maximizes vibration frequency transmission and guarantees pronounced feedback.
Avoid mounting on chair edges where body contact is minimal. If necessary, use a sturdy wooden platform for firm fixation and consider adding vibration damping material.
It’s also essential to balance left-right shaker placement for symmetrical feedback. Experimenting with slight forward or rearward adjustments can improve resonance. Remember, user-specific factors, like body morphology and chair padding, affect overall experience, so don’t hesitate to make tweaks post-installation for that customized touch.
Integrating With Gaming Software and Devices
After securing the ideal placement of seat shakers, it’s time to integrate them with gaming software and devices to release their full capabilities. Choosing the right software is key to accessing the telemetry benefits that enhance your gaming experience.
Popular Software Options:
- SimHub: Extracts telemetry data from racing simulations, converting it into haptic feedback for precise responses.
- SimShaker Wings: Supports JetSeat hardware, adding bass shaker effects in flight simulations, like IL-2 Sturmovik.
- VoiceMeeter Potato: Works with FS Realistic for filtering audio signals tailored to bass shakers.
To maximize compatibility, remember that many software options require a Windows OS, so plan your setup accordingly for peak performance. Integrating these elements will create a truly immersive gaming experience.
Frequently Asked Questions
Can I Install Seat Shakers in Any Type of Vehicle?
Yes, we can install seat shakers in various vehicles, but we need to take into account installation requirements and vehicle compatibility. Ensuring a solid frame and proper mountings is essential for ideal performance and enjoyment.
What Kind of Audio System Is Best for Seat Shakers?
For the best seat shaker experience, we recommend a home theater system with robust subwoofer options and strong amplifier compatibility. This way, we can truly enjoy immersive vibrations that bring our audio to life.
How Do Shakers Affect the Overall Sound Quality?
Shakers enhance our overall sound quality by enriching sound dynamics through vibration feedback. When set up properly, they make us feel bass more deeply, creating a shared experience of immersion that we can truly enjoy together.
Can Seat Shakers Be Used in Gaming Consoles as Well?
Absolutely, seat shakers bring a delightful enhancement to our gaming experience. With the right setup, their compatibility can transform how we feel every in-game moment, grounding us deeper in our shared virtual adventures. Let’s plunge into it!
Do I Need Specific Software to Control the Seat Shakers?
We don’t necessarily need specific seat shaker software for control methods; basic amplifiers often suffice. However, advanced setups can benefit from software to fine-tune our experience, enhancing how we feel those vibrations together!