As an Amazon Associate, we earn from qualifying purchases. Some links on this site are affiliate links at no extra cost to you. Our recommendations are based on thorough research and editorial judgment.
How To Mount Soundbar On Wall?
To mount a soundbar on the wall, start by planning its ideal position beneath your TV. Gather key tools like a drill, screwdriver, and level. Use a stud finder to locate wall studs, ensuring stable installation. Mark the height and drill pilot holes for the wall bracket, then securely attach it with screws. Hang your soundbar on the bracket, ensuring it’s firm. Finally, manage cables neatly to avoid clutter. Continue below for more detailed steps and tips.
Key Takeaways
- Choose an appropriate height and ensure proper alignment of the soundbar with the TV for optimal audio experience.
- Use a stud finder to locate wall studs, and prepare the mounting area by measuring and marking where the soundbar bracket will go.
- Secure the wall mount with appropriate screws, ensuring it can support the weight of the soundbar.
- Plan and manage cables to keep them hidden and organized, using clips or grommets as needed.
- Confirm the soundbar is securely attached and test its stability by gently pulling on it to ensure safety.
Preparation and Planning
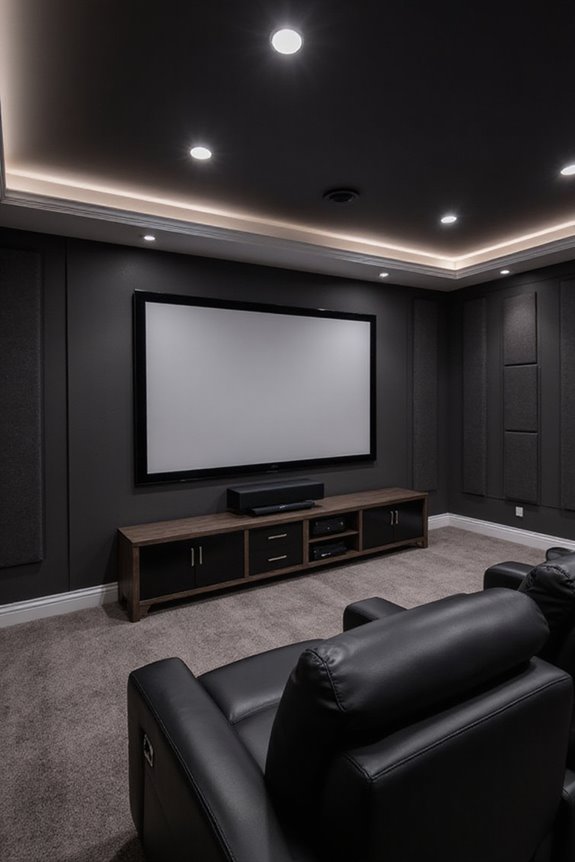
When we’re preparing to mount a soundbar on the wall, it’s crucial to start with careful planning and assessment. We need to identify the ideal placement for our soundbar, making sure it’s aligned with the TV for the best audio experience. Environmental factors matter too; we should avoid areas with high humidity or heat that could affect performance.
Here’s what we should consider:
- Wall Studs: Locate them for stable mounting.
- Distance: Measure the gap between the TV bottom and soundbar position for correct alignment.
- Wall Type: Identify material to choose the right anchors.
- Weight Check: Verify the wall can support both soundbar and bracket.
Additionally, ensuring that the soundbar is compatible with advanced audio formats can enhance the overall listening experience. Taking these steps guarantees a successful installation.
Tools and Hardware

Mounting a soundbar on the wall requires the right tools and hardware to guarantee a secure and professional installation. Here’s what you’ll need for effective mounting techniques and installation tips:
Essential Tools:
- Phillips head screwdriver
- Power drill with appropriate bits (masonry or wood)
- Stud finder
- Level
- Tape measure
Mounting Hardware:
- Universal soundbar mounts with adjustable brackets
- Screws of various sizes tailored to your soundbar
- Heavy-duty wall anchors or toggle bolts for drywall
- Lag screws for wood studs
Additional Supplies:
- Cable ties for a clean finish
- Rubber pads to minimize vibration
It’s essential to ensure that the right tools and hardware are used to achieve the best audio experience from your soundbar.
Wall Bracket Installation

Installing a wall bracket for your soundbar is a crucial step that guarantees a secure hold and superior audio experience. First, let’s utilize a printed template specific to your soundbar model to mark drilling points on the wall accurately. We should use a level tool for perfect bracket alignment, ensuring everything is horizontal.
Next, we start our drilling technique by creating pilot holes with a small drill bit to check for studs. If we find a stud, let’s use it; if not, we’ll insert wall anchors for secure fixing. Additionally, ensuring that the wall bracket installation is done securely will allow for the optimal performance of your soundbar, similar to how smart universal remotes enhance device compatibility across multiple electronics.
Finally, we can insert our wall anchors and secure the brackets with larger screws, ensuring they’re aligned and firmly fixed to complete this essential step.
Soundbar Attachment
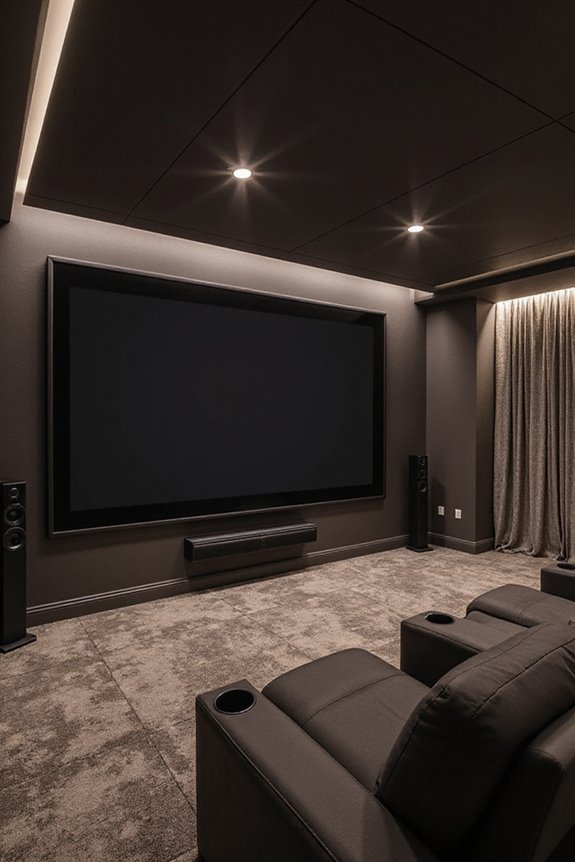
After we’ve securely installed the wall bracket, it’s time to attach the soundbar. First, let’s make certain we have soundbar compatibility by checking the mounting points on both the soundbar and the bracket. We’ll need to position the soundbar centered below the TV, about 2-3 inches down to enhance sound quality without distracting from your screen.
Using the manufacturer-supplied brackets guarantees a secure fit. Attach the brackets directly to the soundbar, removing any protective pads first. For the best stability, secure the mounting brackets into wall studs, avoiding drywall anchors if possible. Don’t forget to double-check that everything is level to maintain that sleek aesthetic we all appreciate. Additionally, ensure that your soundbar supports Dolby Atmos to maximize audio performance for an immersive experience. Now, we’re one step closer to enjoying our favorite shows with crisp sound!
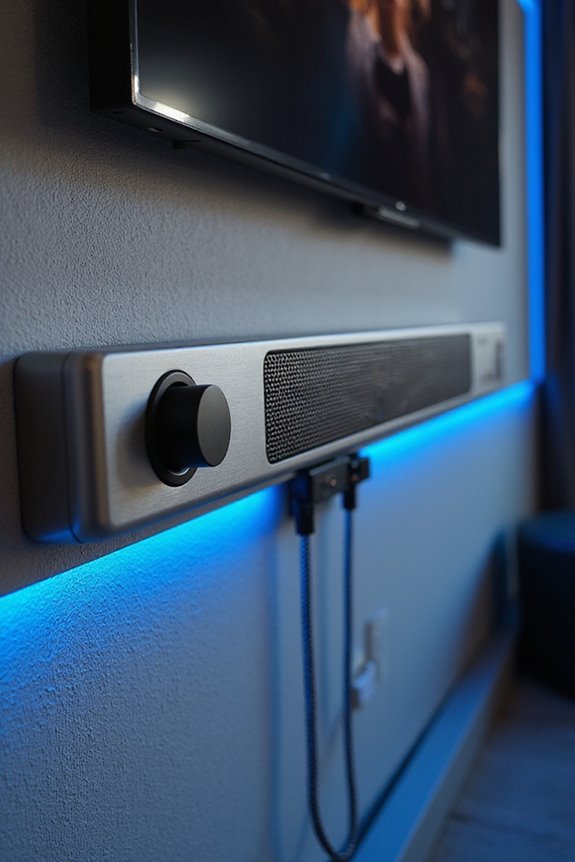
Cable Management
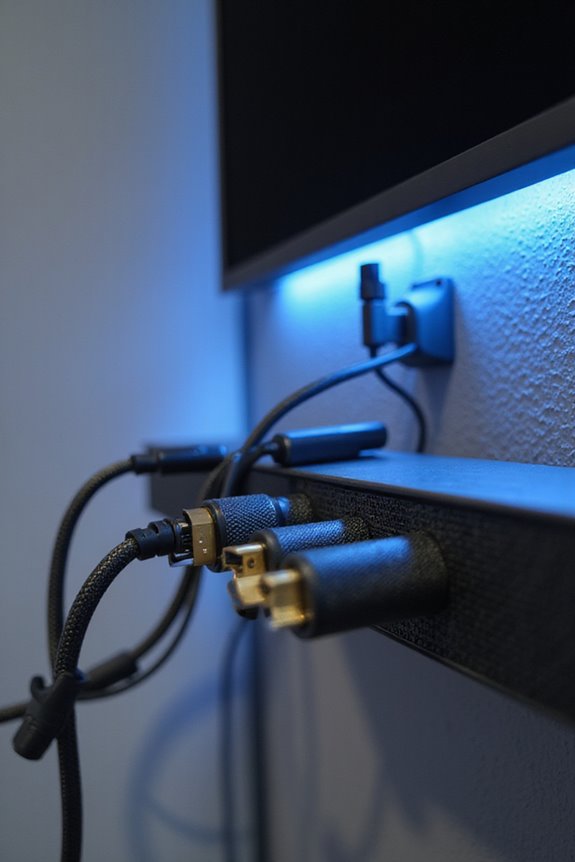
When it comes to enhancing your home’s entertainment setup, effective cable management is key. We need to think about cable organization and wire concealment to create a clean, professional look. Choosing in-wall cable management solutions keeps messy cords hidden behind the wall. Systems like PowerBridge are designed specifically for soundbars, allowing impressive cable concealment without sacrificing accessibility.
Considerations for installation include:
- Using brush-style grommets to prevent cables from slipping.
- Planning routes in advance to avoid damaging cables.
- Considering paintable surface-mount options if in-wall wiring isn’t practical. Additionally, implementing advanced connectivity options can further streamline your setup and enhance your overall viewing experience.
Safety and Post-Installation Checks
Making certain your soundbar is safely mounted requires thorough checks and careful planning. We should prioritize safety precautions during this process. Here are some essential inspection guidelines to follow:
- Confirm the soundbar is firmly attached to the brackets, preventing falls or damage.
- Verify mounting screws are tightly fastened, avoiding any risk of loosening over time.
- Conduct a gentle pull test to assess stability.
- Organize and secure cables to prevent accidental pulling, especially by children.
- Check that there’s sufficient clearance around the soundbar for airflow.
- Inspect all connections post-installation, making certain no exposed wires or loose terminals exist.
Confirming Wall Strength
Confirming wall strength is a key step in ensuring your soundbar is safely and securely mounted. First, we need to identify the wall composition—whether it’s drywall, plaster, brick, or concrete—as this directly impacts how we will mount the soundbar.
Next, let’s find the stud location. Using a stud finder or drilling small pilot holes will help us locate those solid support areas. It’s essential to avoid drilling into electrical wiring or plumbing.
When securing the soundbar, we should use screws anchored into the studs for maximum strength. If studs aren’t available, opt for high-quality drywall anchors or toggle bolts that can support the weight of your soundbar. Always confirm that the load distribution won’t compromise the wall’s integrity.
Choosing the Right Hardware
Choosing the right hardware can considerably impact how well your soundbar performs after installation. When we select mounting strategies, verify they align with the soundbar and TV compatibility. Here are key points to contemplate:
- Mount Types: Universal brackets, adjustable mounts, or those that attach directly to TV mounts.
- Weight Capacity: Choose steel or reinforced metal for durability, with M5 diameter screws for secure fastening.
- Wall Material: Verify appropriate wall anchors are used for your specific wall type.
Always check that the mounting hardware matches the VESA pattern on your devices. Some mounts are designed specifically for certain TV sizes, enhancing stability and sound performance. Choosing the right hardware means a seamless, enjoyable audio experience as you enjoy your favorite shows!
Maintaining Your Soundbar Setup
After securing the right hardware for your soundbar, it’s important to focus on maintenance to guarantee ongoing performance and longevity. Here are some effective cleaning techniques and practices:
- Regular Cleaning: Use a soft, dry cloth to wipe surfaces. For grilles, a soft brush or compressed air works well. Avoid scratches and excess moisture.
- Firmware Updates: Regularly check for updates to enhance sound quality and fix bugs.
- Ventilation: Maintain airflow around your soundbar, avoiding soft surfaces that can block vents.
- Cable Management: Inspect all connections for wear and replace damaged cables promptly.
- Usage Guidelines: Turn off the soundbar when not in use and avoid high volumes to extend its lifespan.
Frequently Asked Questions
Can I Mount a Soundbar Above High Furniture Like Cabinets?
Yes, we can mount a soundbar above high furniture, but soundbar height matters; studies show placement affects audio experience considerably. We should avoid furniture restrictions that block sound waves for ideal clarity and performance.
What Adjustments Are Needed for Curved TVS With Soundbars?
For curved TVs, we need to guarantee soundbar compatibility with the TV’s curvature. Adjustments include using specialized mounts, checking alignment, and minimizing gaps to achieve ideal audio performance and a seamless look in our setup.
Is It Safe to Wall-Mount Soundbars Near Speakers?
Yes, it’s safe to wall-mount soundbars near speakers, but we should guarantee proper soundbar distance to minimize speaker interference. Let’s prioritize ventilation and the right mounting techniques for best performance and safety.
How Do I Align the Soundbar With My TV Size?
When we harmonize soundbar alignment with our TV size, it’s like composing a beautiful symphony. We should aim for about 2/3 to 3/4 the TV’s width, ensuring a perfect balance that enriches our shared experiences.
Can I Use a Soundbar With an Old TV Model?
Yes, we can use a soundbar with an old TV model, but we need to do a compatibility check first. It’s essential to find suitable connections to enjoy those audio enhancements together.