As an Amazon Associate, we earn from qualifying purchases. Some links on this site are affiliate links at no extra cost to you. Our recommendations are based on thorough research and editorial judgment.


How To Reduce Microphone Echo?

To reduce microphone echo, we can start by choosing directional microphones, like cardioid or supercardioid types, which minimize sound capture from the sides and rear. Ensuring proper microphone placement is essential; keep it close to your mouth and avoid walls. Additionally, adjusting audio settings—like lowering speaker volume and using echo cancellation features—makes a difference. Finally, consider acoustic treatments like rugs or panels for better sound absorption. Let’s explore these techniques in more detail.
Key Takeaways
- Use a directional microphone with a cardioid or supercardioid polar pattern to minimize sound capture from behind and reduce echo.
- Position the microphone close to the sound source and angle it towards the speaker to enhance direct sound and minimize room reflections.
- Invest in acoustic treatment, like panels or soft furnishings, to absorb sound and reduce unwanted reverberations in the recording environment.
- Lower speaker volume and utilize echo cancellation features in software settings to minimize feedback and prevent echo during recordings.
- Use closed-back headphones to prevent sound leakage and help maintain a clear audio signal without interference from ambient noise.
Understanding Microphone Polar Patterns
When we talk about microphone polar patterns, we’re diving into a critical aspect of audio technology that affects how sound is captured. These patterns dictate how microphones pick up sound, influencing echo reduction techniques.
- Cardioid Polar Pattern: Focuses sound from the front, reducing side pickup. It isolates the sound source effectively, minimizing echoes from behind the mic.
- Supercardioid and Hypercardioid: Offer more directional advantages, capturing sound mainly from the front but allowing some pickup from the back.
In contrast, Omnidirectional microphones capture sound from all around. While this provides a natural sound, it has limitations in echo reduction in untreated rooms. Understanding these polar pattern characteristics helps you choose the right microphone for ideal sound source isolation and effective microphone placement in any environment. Additionally, selecting microphones with dedicated subwoofers can enhance audio clarity and minimize unwanted echoes in various settings.
Choosing the Right Microphone
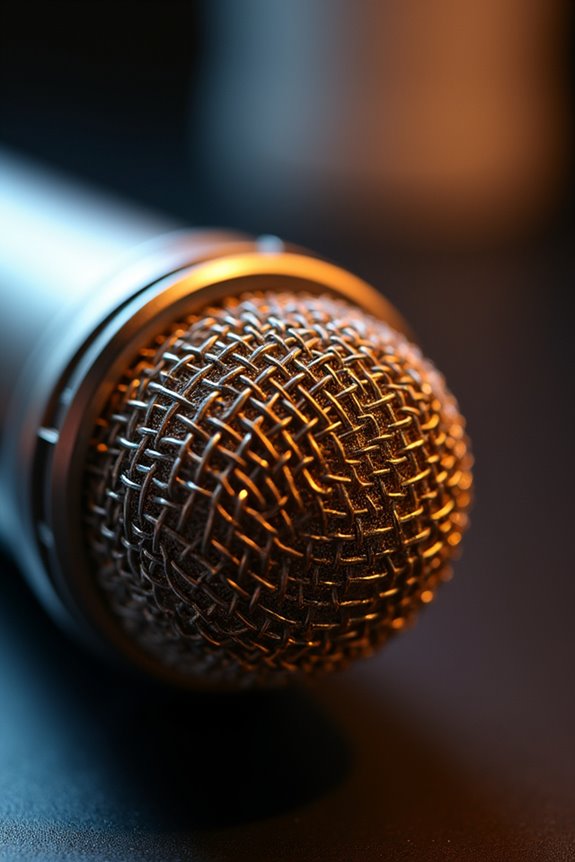
Choosing the right microphone is key to managing echo and achieving quality sound in any recording environment. For echo-prone spaces, dynamic options are often recommended due to their low sensitivity and focused pickup, which help reject ambient noise. On the flip side, condenser characteristics excel in clarity but require controlled acoustics to minimize echo.
Ribbon microphones provide natural sound and low noise, ideal for specific setups. They’re less commonly used in noisy environments but offer unique benefits.
For budget choices, models like the Samson Q2U and the FIFINE K669B can provide decent echo control without breaking the bank. Ultimately, the right mic can make a significant difference in your recording experience, so pick wisely! Additionally, consider device compatibility to ensure your microphone works well with your other audio equipment for optimal performance.
Adjusting Audio Device Settings
Adjusting audio device settings can drastically enhance your recording quality and minimize microphone echo. Let’s fine-tune our setup together. Start by lowering your speaker volume; high levels can create echo. On Windows, adjust via the taskbar or use keyboard shortcuts like F6. For Mac, use F11 or the system sliders.
Next, we should examine microphone properties in your Sound settings. Enable audio enhancement techniques like Noise Suppression and Acoustic Echo Cancellation. It’s essential to set the correct recording device and reduce microphone input levels to eliminate unwanted feedback.
Lastly, don’t forget to adjust in-app settings. Use echo cancellation features and lower incoming speaker volumes within platforms. By making these adjustments, we can create a clearer audio experience. Additionally, consider using high-quality installation products such as speaker wire wall plates to ensure optimal performance of your audio system.
Importance of Acoustic Treatment
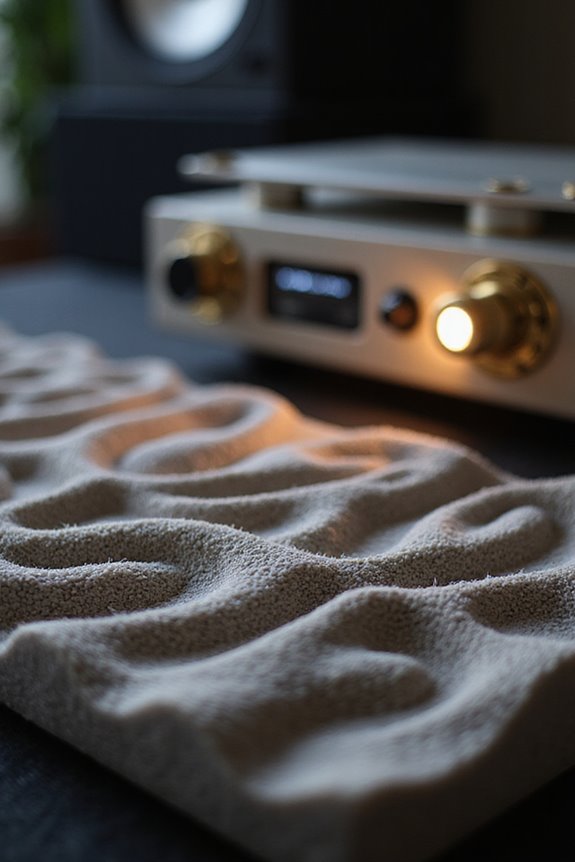
Acoustic treatment plays an essential role in enhancing audio quality, particularly in environments where clarity is crucial. It effectively eliminates unwanted reverberations and reduces sound reflections, allowing for a more crisp audio experience. Here’s how it benefits you:
- Improved Speech Intelligibility: Acoustic absorption reduces echoes that can blur comprehension, making every word clear.
- Minimizing Background Noise: Treatment absorbs distracting external sounds, ensuring you focus on primary audio, like when recording podcasts or presentations.
- Controlled Environment: By managing sound reflections, the acoustics remain stable, providing reliable audio capture.
Investing in acoustic treatment creates spaces where sound resonates wonderfully, supporting engagement, and reducing frustration. This isn’t just an upgrade; it’s a necessity for anyone serious about producing high-quality audio. Additionally, using panels with high NRC ratings ensures optimal sound absorption and performance in your environment.
Implementing Physical Solutions
Implementing physical solutions is a straightforward way to tackle microphone echo effectively. One key aspect is room arrangement: soft materials like curtains, rugs, or furniture absorb sound and reduce reflections. Another essential factor is managing speaker levels. Lowering your speaker volume can greatly cut down on echo, so test different levels until you find the right balance.
We also suggest using quality headphones or headsets. They prevent sound leakage and allow for clearer sound capture. If possible, position your microphone close to your voice source and use directional microphones to minimize ambient noise. Finally, keep your space cluttered but cozy—this helps absorb sound and prevents unfavorable reflections, making your audio crisp and echo-free. Consider adding affordable acoustic panels to further optimize your sound environment and enhance sound absorption.
Utilizing Software Processing Techniques
When it comes to reducing microphone echo, utilizing software processing techniques can be highly effective. Many communication apps, like Zoom and Discord, have built-in echo cancellation features that rely on sophisticated software algorithms for real-time audio processing. These tools help us enjoy clearer conversations, especially during remote meetings.
Here are some options you might consider:
- Zoom: Offers adjustable echo cancellation and noise suppression levels.
- Google Meet: Provides basic noise reduction, but without customization.
- Audacity: Ideal for post-processing, allowing echo removal in recorded audio clips.
AI-powered solutions can further enhance audio clarity. They actively remove echoes while preserving your natural voice quality, making for a more pleasant listening experience. Embracing these software techniques can lead to remarkably improved communication.
Optimizing System and Driver Configurations
Optimizing system and driver configurations can be a straightforward yet effective way to reduce microphone echo. Start by accessing your sound settings through the Control Panel or System Preferences. Make sure to set your desired microphone as the default input, disable unnecessary devices, and tweak your speaker output levels—lowering them can minimize feedback.
Next, regularly update your audio drivers for better driver compatibility and access to advanced audio enhancements. Enable features like Acoustic Echo Cancellation (AEC) and noise suppression in your microphone properties. Finally, checking for updates via Device Manager can help fix existing issues while ensuring your system runs smoothly. By following these steps, we can enhance our audio experiences together.
Encouraging Proper User Behavior
Proper user behavior plays an essential role in reducing microphone echo during calls or recordings. Together, we can enhance our audio experience by practicing good user etiquette and being mindful of feedback awareness.
Here are some key habits to adopt:
- Position the Microphone: Keep it away from reflective surfaces and speak farther from it.
- Minimize Background Noise: Create a quiet environment and avoid overlapping conversations.
- Use Mute Function: Mute when you’re not speaking to prevent unnecessary sound pickup.
- Control Speaker Volume: Lowering it helps reduce loud reflections.
The Role of Headphones in Reducing Echo
Headphones play an essential role in minimizing microphone echo, greatly enhancing the clarity of your audio experience. By choosing the right design, like closed-back headphones, you gain improved headphone isolation, reducing audio leakage. This helps keep your microphone from picking up unwanted sounds that cause echo.
In addition, headphones with active noise cancellation (ANC) can lower ambient noise, further preventing feedback loops. Prioritize snug-fitting models to boost passive isolation and select options with built-in echo cancellation features.
Remember to disable speaker output when using headphones and check your microphone’s sensitivity settings. By using these strategies, we can effectively reduce echo, allowing for clearer communication and a more enjoyable experience during calls or recordings.
Positioning the Microphone Effectively
When you position your microphone effectively, you can substantially reduce echo and enhance audio clarity. First, keep the microphone distance close to minimize room reflections. A closer mic captures more direct sound, improving the signal-to-noise ratio.
Next, pay attention to the microphone angle; aim it directly at your sound source while avoiding reflective surfaces. If possible, tilt the mic slightly to reduce unwanted reflections from the ceiling or floor.
Additionally, don’t place the mic near walls or corners, as these areas exacerbate echo. If your microphone has a switchable polar pattern, experiment with this feature to find the best angle for minimized echo.
Testing Your Audio Setup Regularly
Regularly testing your audio setup is essential for maintaining peak sound quality. By prioritizing equipment maintenance through consistent performance evaluation, we can guarantee our audio remains clear and professional.
To get started:
- Conduct blind listening tests to eliminate bias.
- Use the same audio source for all comparisons, and match volume levels within 0.1 dB.
- Position the microphone consistently to replicate the setup.
We should document our findings, noting any anomalies for future reference. Additionally, incorporate objective measurements like frequency response curves to support our findings. It’s important to rotate our test tracks to avoid ear fatigue and keep our listening skills sharp. Regular testing helps you catch any performance degradation early, guaranteeing our audio always sounds its best.
Frequently Asked Questions
Can Microphone Echo Affect Recording Quality Significantly?
Absolutely, microphone echo can drastically impact recording quality. Studies show that adjusting microphone placement reduces echo by up to 70%. Together, we must also consider room acoustics to enhance our audio clarity and overall experience!
How Do I Identify Echo Sources During a Call?
We can identify echo sources during a call by using echo detection techniques and performing a call quality assessment. Checking who hears the echo helps us pinpoint if it’s localized or affecting everyone.
What Features Should I Look for in Noise-Cancelling Microphones?
When we seek the perfect noise-cancelling microphone, think of a shield. Look for features enhancing echo reduction, like high SNR, adaptive ANC, and strategic mic placement, ensuring clear sound in our shared acoustic journey.
Are There Specific Rooms That Are Best for Recording Without Echo?
To minimize echo, we should consider rooms with good room acoustics and sound absorption. Soft furnishings and irregular shapes help create a welcoming environment for recording. Let’s explore our spaces together to find the best fit!
How Can I Test Echo Levels Before Important Recordings?
Did you know 80% of audio issues stem from echo? To test levels, we can use echo testing methods like recording short clips and applying sound validation techniques. This guarantees we’re always ready for professional-grade recordings together.